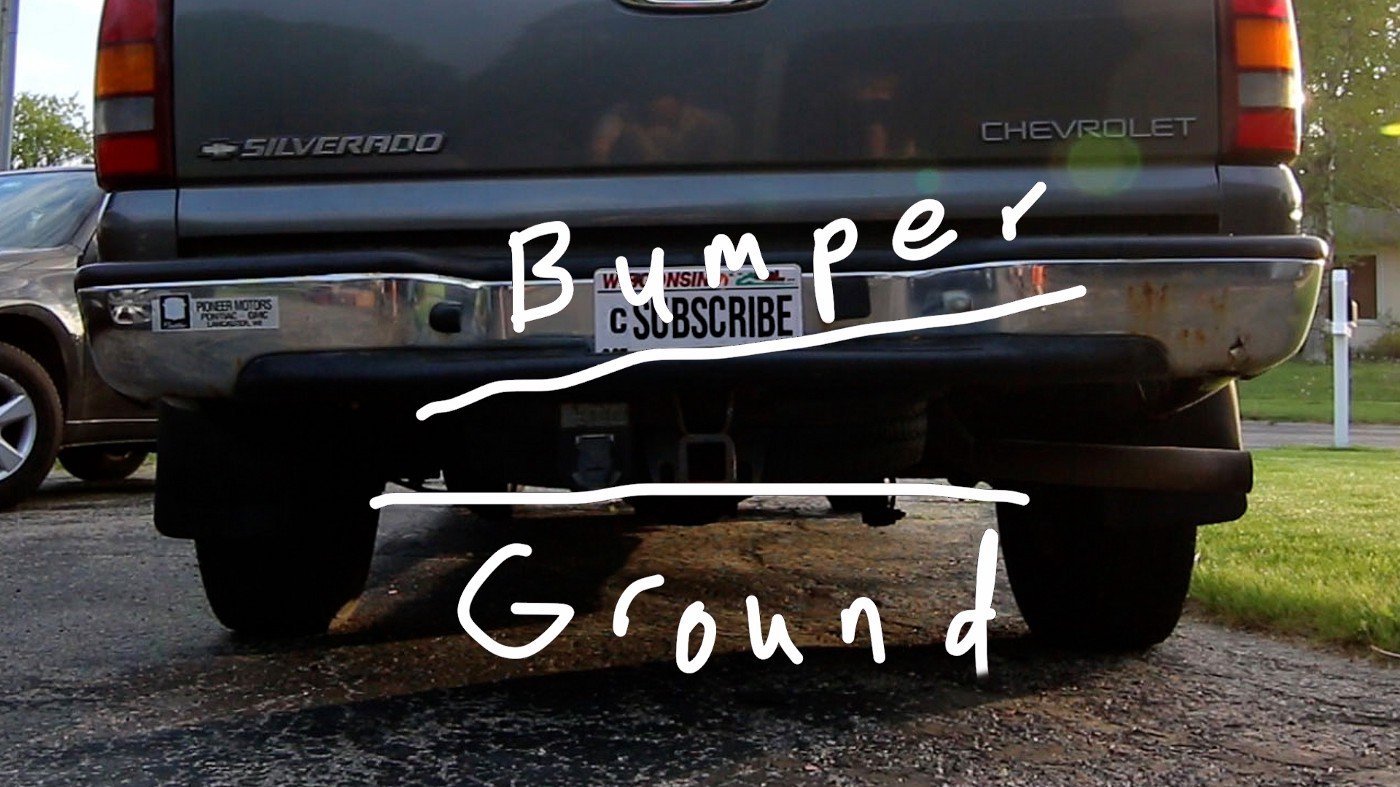
Replacing the rear shackle on my old truck literally changed me forever
The rear shackle on my truck snapped. Fixing it was supposed to be simple. It was anything but.
It was summer of 2020. I had a huge backlog of work to do on my 2002 Chevy Silverado project truck. But the weather was gorgeous, and I had all summer to do it. “If I just buckle down, I’ll be able to get most of this done,” I thought to myself…
Then I saw it.
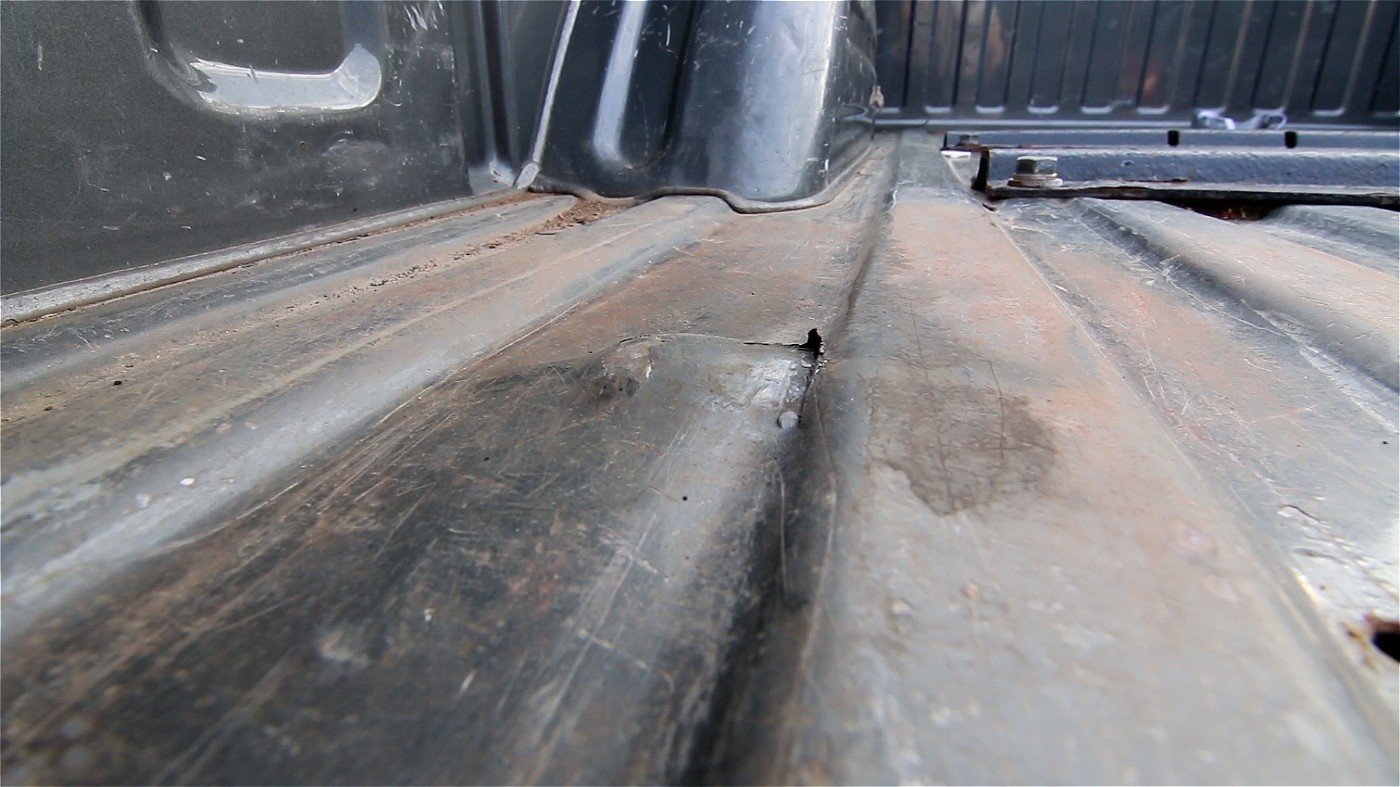
The bump in my truck bed from the freed leaf spring.
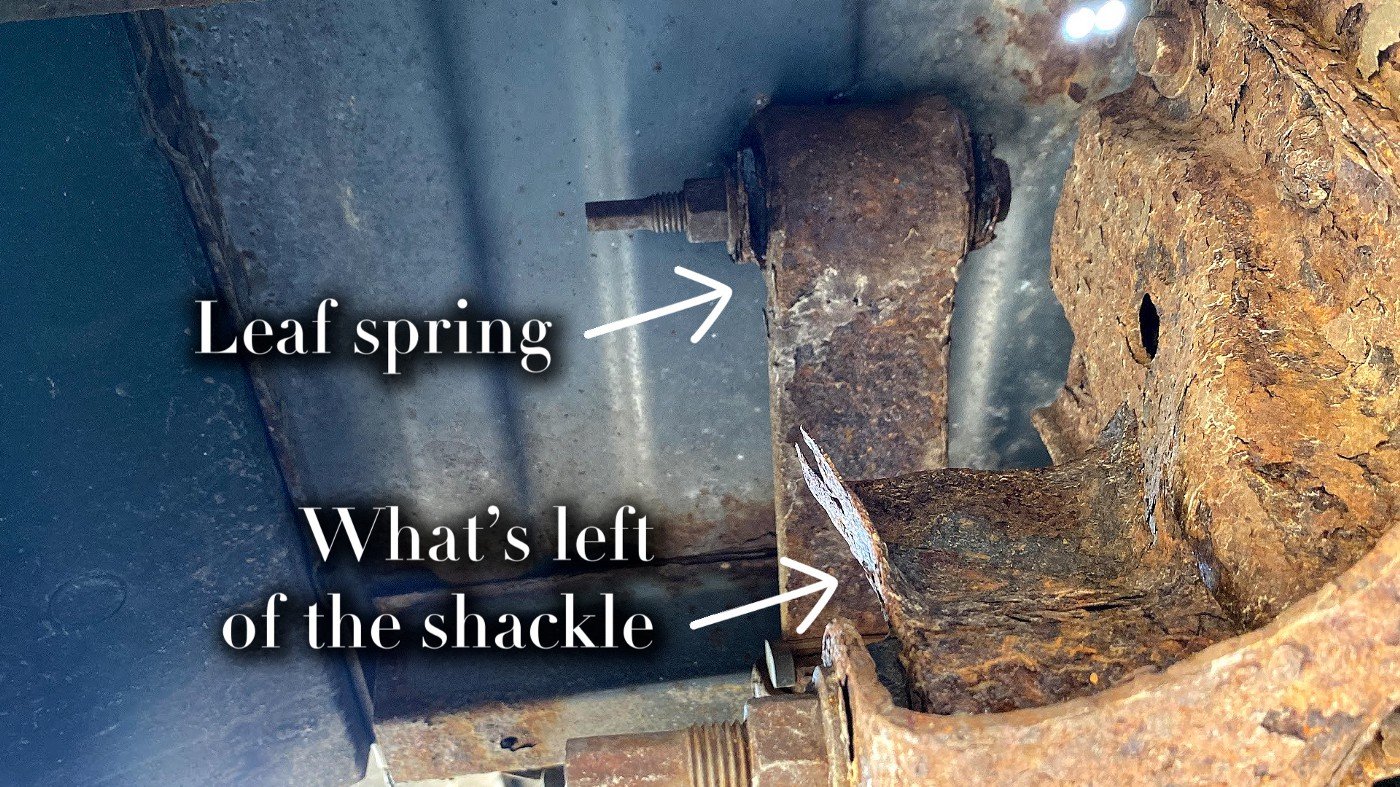
The rear driver side suspension shackle, which connects the leaf springs to the truck, had broken and shoved up through the truck bed.
YouTube videos on this subject make it sound like this process would be easy. It was just popping out a few bolts and throwing a new shackle, after all! How hard could it be?
(Spoiler: It was very hard. It took me all summer, in fact. And let’s just say that because of one incident where I essentially branded myself, the truck will be a part of me for the rest of my life.)
See the full project in the video above. Read on for some takeaways.
Should a non-professional mechanic attempt this? Before I answer, remember that a suspension system is perhaps one of the most inherently dangerous parts of a vehicle. There’s a lot of power trapped in those springs.
Danger aside, if you live in some pristine, rust-free area, I could see this going to be relatively easy for you. But if you live somewhere where it gets rusty … then you are going to need some heat (MAPP gas is plenty), a big air compressor, and more time than you might think.
Speaking of the air compressor: I have skated by most of my DIYer life with a 6-gallon air compressor. It seemed like all I really needed for projects. But it finally met its match with this one. You really need an air hammer and a ton of air available to be able to get all of the tightly-packed parts out of those assemblies. With the a new 20 gallon air compressor, it still took me a while to air hammer everything out, but at least it was doable. With the 6 gallon, I could hammer for about 6 seconds, wait for the compressor to charge up for 2 minutes, hammer for another 6 seconds, wait 2 minutes… It was atrocious!

The larger air compressor.
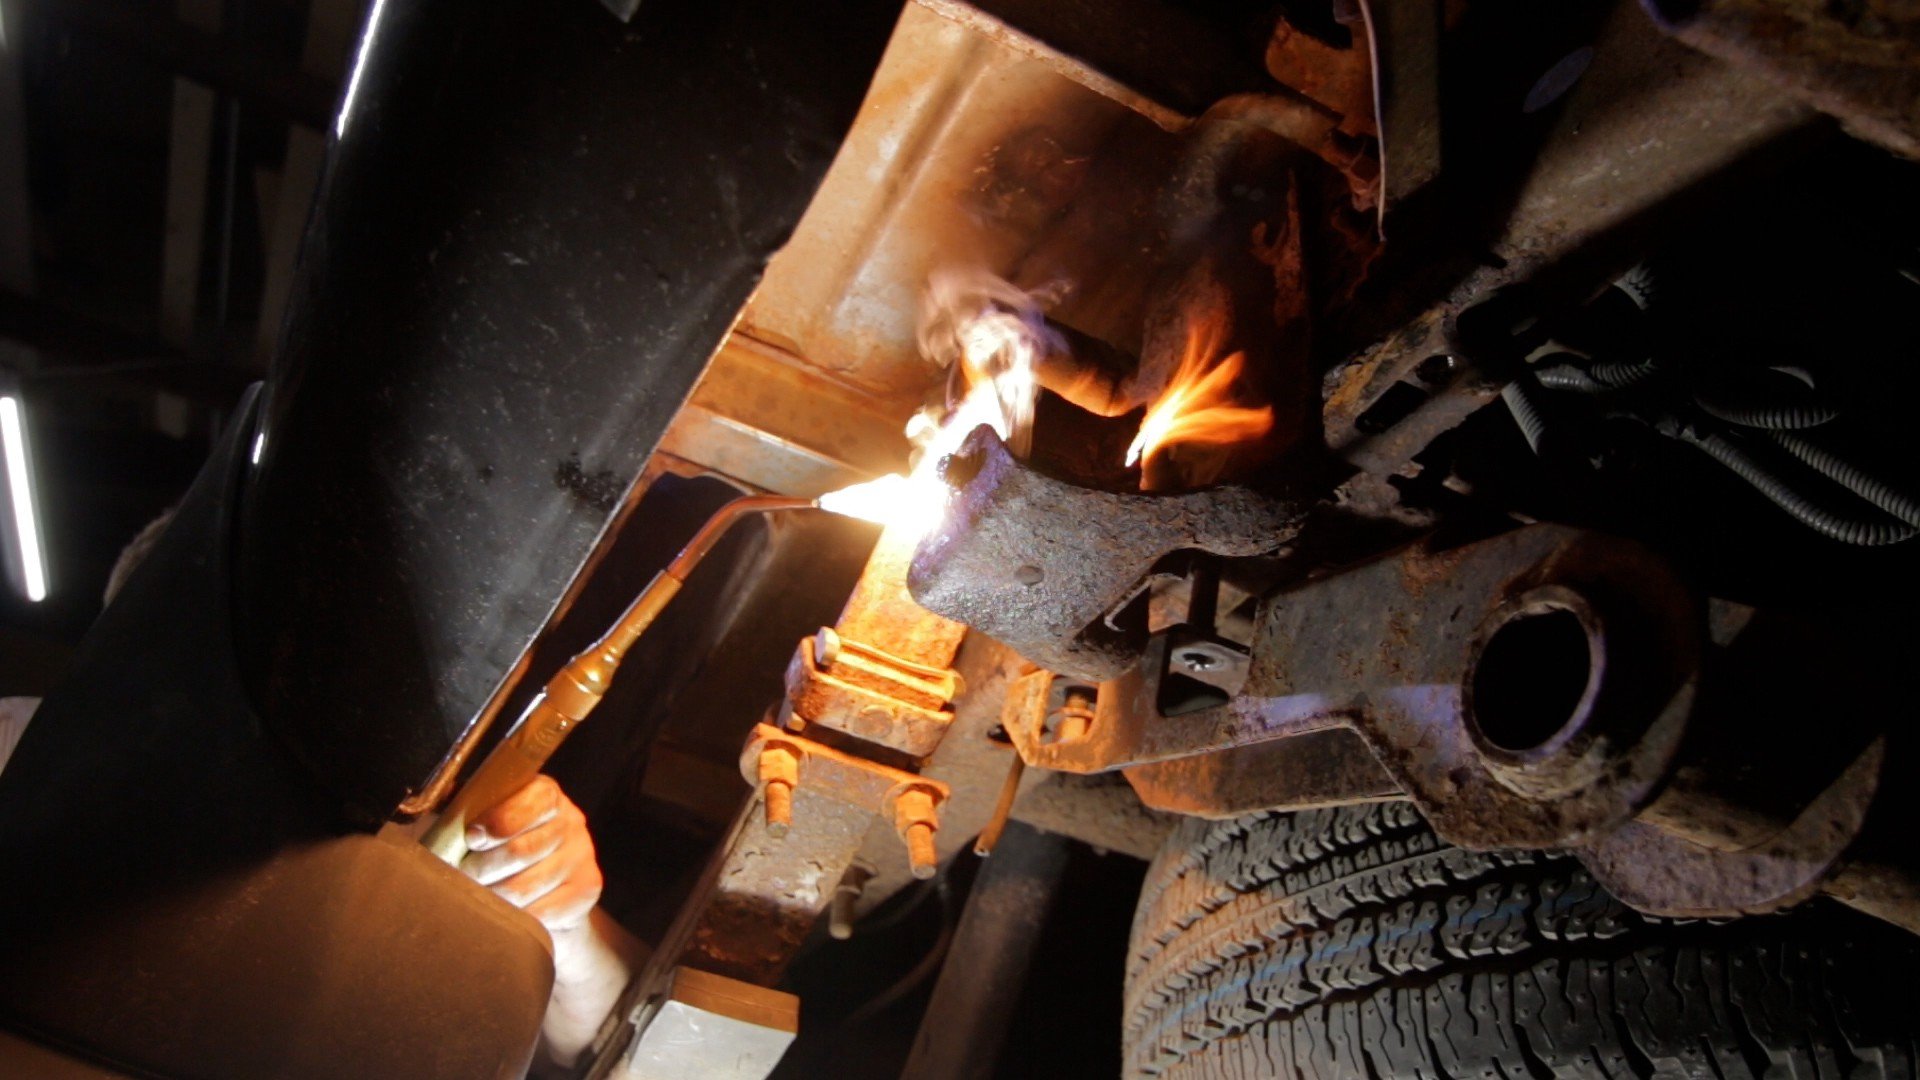
I used both oxygen-acetalyne and MAPP gas to heat up stuck parts. The MAPP was plenty… and less prone to starting things on fire… so I’d go with that for this.

This metal sleeve inside the leaf spring eye took me months to remove. The only way I got it out was with the bigger air compressor.
Speaking of the air hammer: There’s not much room to work inside the wheel well of the truck. And it can be virtually impossible to fit some tools in that space. That’s where a stubby air hammer and swivel adapter come in. Definitely pick up those if you’re going to tackle this.
Bottom line: If you’re working on your project truck, and it can sit on jack stands for a while when you get stuck, then hey, you just found a good excuse to go buy a big air compressor for your air hammer. I assume that would be cheaper than taking your truck to a shop. But if you need to do this in a hurry…. Yeesh. This is not going to be a fun one for you. Best of luck!
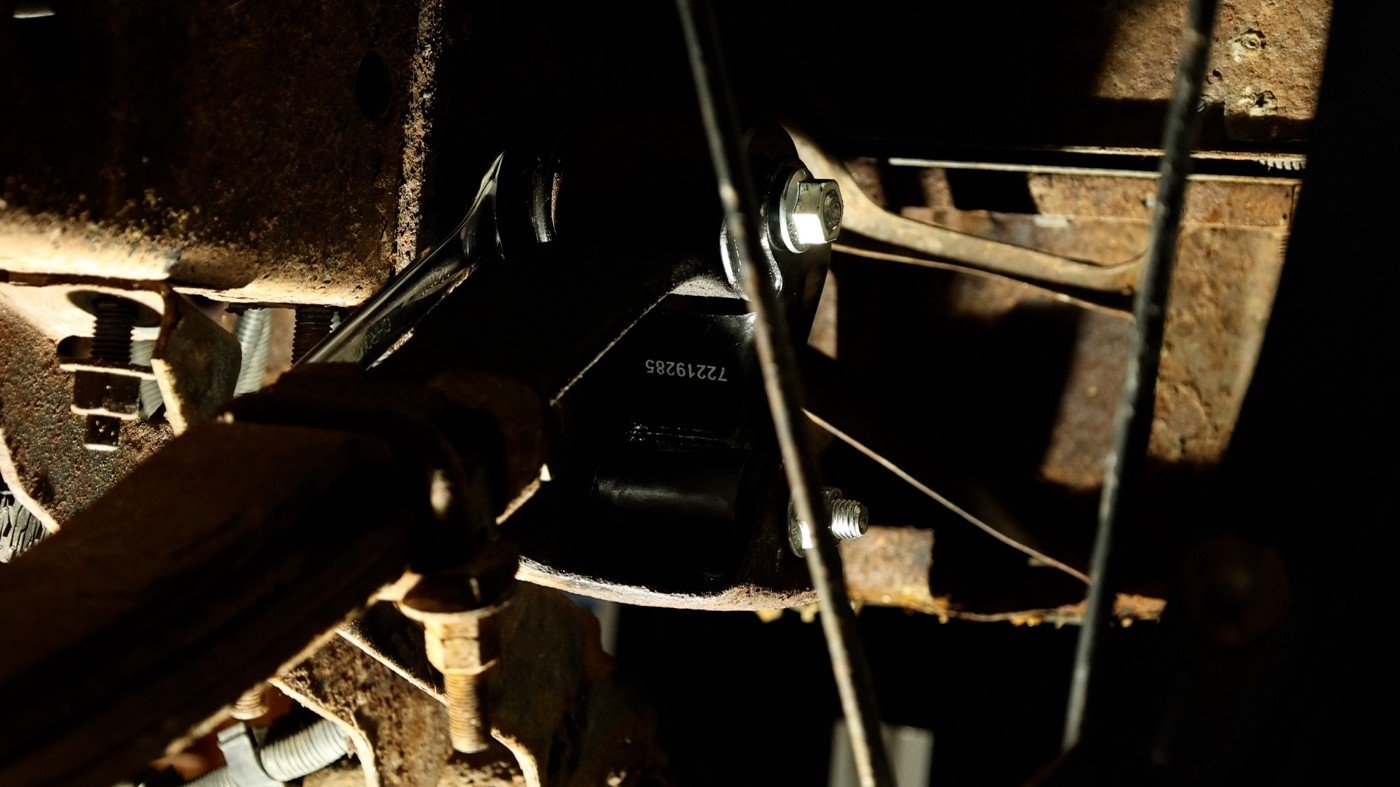
The fixed leaf spring shackle.